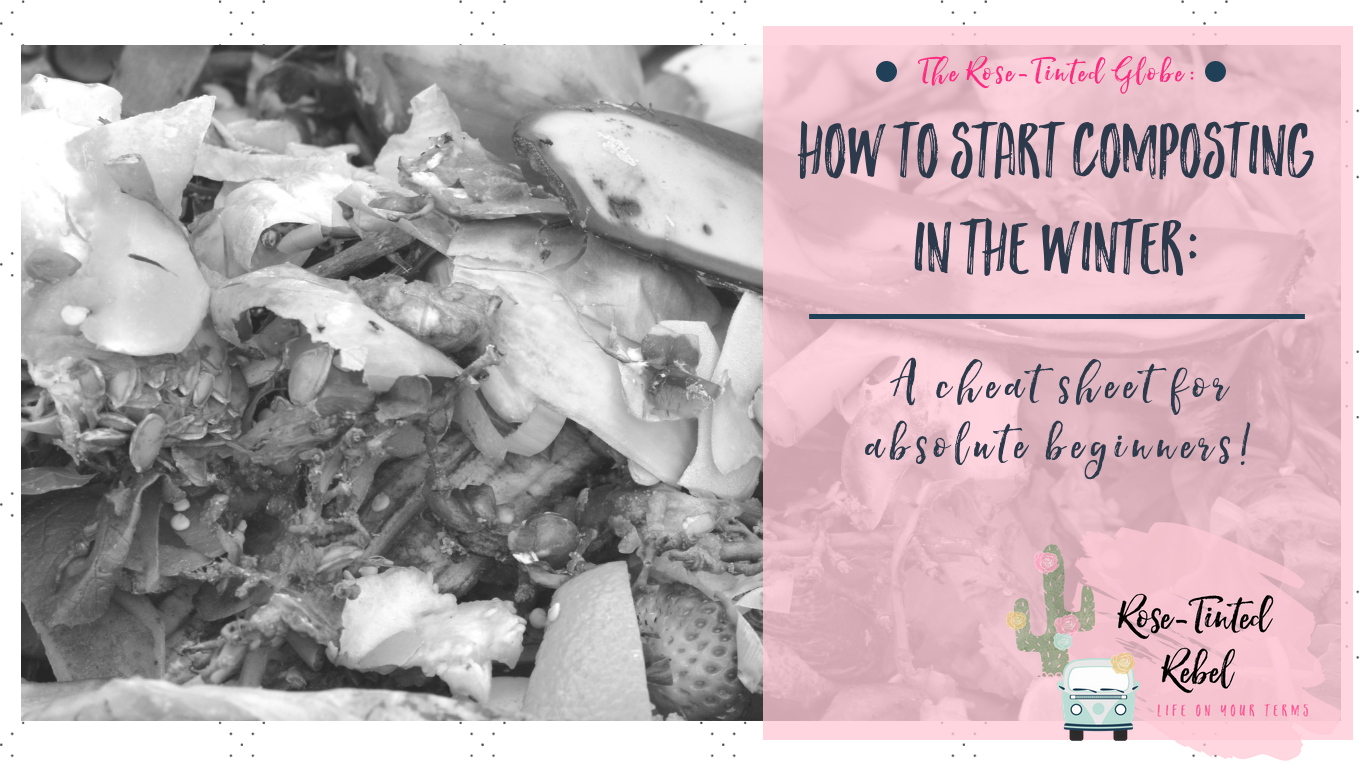
Yesterday I took on one of the less-glamorous items on my 30 Before 30 list. While not a glamorous task, it was one I’ve had on my “to-do” list for quite awhile, and certainly since I’ve been trying to minimize the amount of waste that I create. This exciting item: composting!
Now you might think that winter in Wisconsin is not an ideal time to begin composting, and you’d be right. The best time would definitely be spring or early summer. However, I’m working on a deadline of my 30th birthday, and although winter isn’t ideal, it’s not an impossible time to compost.
Why Compost?
-Some people claim that composting can remove anywhere from 20 to 50% from your household waste and the EPA says that number is probably around 24%.
-Less full trash bins at your house means slightly less full landfills (at least where your household is concerned).
-It’s kind of fun. At least, the initial setting-up process has been!
What You’ll Need:
Links on this page may be affiliate links (I receive a commission, at no extra cost to you, if you click on the link and make a purchase). I only recommend products I’ve used and love unless stated otherwise.
- A small counter bin so you don’t have to go outside to your main compost pile/bin every day. (Especially helpful when it’s freezing outdoors.)
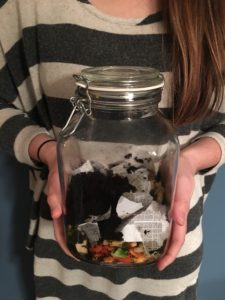
I bought the large glass jar pictured above at a store near us, but there’s a very similar one on Amazon linked below. I thought glass was an obvious choice as we are trying to cut down on our non-recyclables, and I like the idea of being able to easily see what we are composting. Other people might be grossed out by that idea, so there are plenty of cute opaque counter-top options as well. I love the white one below that almost looks farmhouse inspired.
- A larger pile/bin/compost structure.
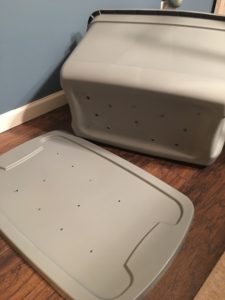
We started with a simple rubbermaid tub. While one day I would love to have a more permanent structure made out of more environmentally-friendly and sturdier materials, this was a good (easy and cheap) starting place for us. Also, did I mention that it’s winter and I’m not spending any more time building stuff outside than I have to if given the choice?
There are about a billion different options for compost bins: tumblers, pallet structures, simple metal bins, etc. Heck, you can even just put your pile directly on the ground if you prefer.
If you choose a rubbermaid tub like we did, you’ll want to drill holes in both the top and bottom of the tub for aeration purposes. We used a ½ inch drillbit for the bottom and made about 12 holes, and a 15/64 inch bit for the top with 10 holes. You don’t want too many holes in the top or your compost will end up very soggy from rain/melting snow.
Setting Up Your Bin:
The next step is to add leaves to the bottom. Leaves are rich in carbon, so they provide a great balance to nitrogen-heavy compost ingredients like grass clippings and other greens you’ll be adding. If you thought ahead, perhaps you bagged up all of your fall leaves and kept them. If you’re like me, you realized they were all covered with about an inch of snow and ice at this point, so you skipped this step but kept it in mind for next fall. 🙂
After leaves, fill your tub about ⅓ of the way with dirt. (I recommend doing this outside for two reasons: tubs full of dirt are heavy, and you just drilled holes in the bottom, so you’re likely to lose some dirt on your floor. (I speak from experience here.)
Finally, add your compostables! You can start adding right away, or you can wait until your counter jar is full and then start.
Tips for Success:
While you want to move your compost around, make sure that you don’t stir it too often, and especially not when it’s too cold outside, as your compost will freeze from the frequent exposure.
Keep your compost moist but not wet, or it will freeze very quickly. A slight spray once a week or so should be enough.
Chop items slightly smaller in winter as your compost won’t break down as much in the cold and you won’t be stirring it as often. This will ensure that your items will decompose quickly and evenly.
If you’re just starting to compost like we were, take a second to think before you put anything in the trash. It may take awhile for composting to become your new normal.
BONUS: I made the cheat sheet graphic below so we could stick it directly to our counter bin while we were getting the hang of it. Feel free to download and use for your own purposes! 🙂
What to Compost in Your Counter Bin
Do you compost? Any pro-tips for newbies?